As you manage your Google Sheets spreadsheet, it’s essential to keep track of when specific actions occur. Manually adding date and time stamps to each row can be time-consuming and prone to errors. However, with the power of Google Apps Script, you can automate this process. In this tutorial, I will guide you through the steps to automatically add date and time stamps to rows in Google Sheets using Google Apps Script. You’ll also find a customizable code snippet to implement this functionality quickly.
Prerequisites
To follow along with this tutorial, you’ll need:
- A Google Sheets spreadsheet with the desired data.
Step 1: Setting Up the Google Apps Script
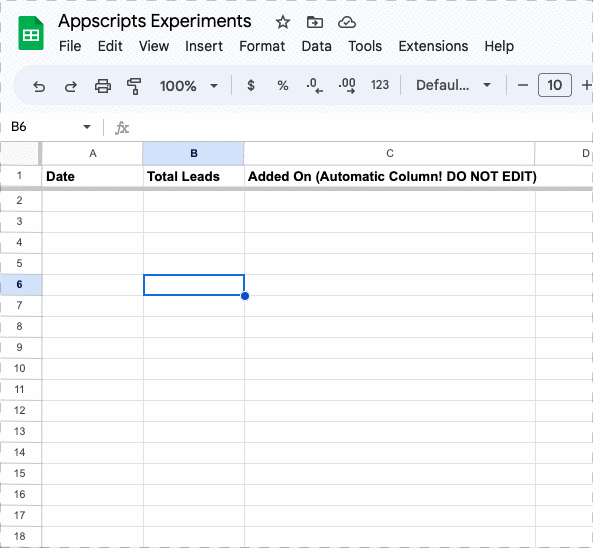
- Open your Google Sheets spreadsheet.
- Click on “Extensions” in the menu and select “Apps Script” to open the script editor.
- Replace the existing code with the code provided below:
|
1 2 3 4 5 6 7 8 9 10 11 12 13 14 15 16 17 18 19 20 21 22 23 24 25 26 27 28 29 30 31 32 33 34 |
function onEdit(e) { var sheet = e.range.getSheet(); var editedColumn = e.range.getColumn(); var timestampColumn = 2; // Adjust this value to the desired column number where the timestamp should be added var firstDataRow = 2; // Adjust this value to the row number where the data starts (excluding headers) if (editedColumn != timestampColumn) { var row = e.range.getRow(); // Check if the edited row is beyond the first data row if (row >= firstDataRow) { var timestampCell = sheet.getRange(row, timestampColumn); var now = new Date(); var formattedTimestamp = formatDate(now); timestampCell.setValue(formattedTimestamp); } } } function formatDate(date) { var day = addLeadingZero(date.getDate()); var month = addLeadingZero(date.getMonth() + 1); var year = date.getFullYear(); var hours = addLeadingZero(date.getHours()); var minutes = addLeadingZero(date.getMinutes()); var seconds = addLeadingZero(date.getSeconds()); var formattedDate = `${day}/${month}/${year} ${hours}:${minutes}:${seconds}`; return formattedDate; } function addLeadingZero(number) { return (number < 10 ? '0' : '') + number; } |
- Save the script by clicking on the floppy disk icon or pressing Ctrl+S.
- Close the script editor.
Step 2: Modifying the Code
You can customize the provided code snippet based on your specific requirements. Here are the variables you may need to adjust:
timestampColumn: Specifies the column number where the timestamp should be added. Update this value to match your desired column.firstDataRow: Specifies the row number where your data starts, excluding the header row. Adjust this value accordingly.
Step 3: Testing the Code
Before applying the code to your entire spreadsheet, it’s recommended to test it with a small set of sample data.
- Add a new row below the header row to trigger the script.
- Observe if the timestamp is correctly added in the specified column of the new row.
- Repeat the process a few more times to ensure consistent results.
Step 4: Applying the Code
Once you have tested the code successfully, you can apply it to your entire spreadsheet.
- Modify the
timestampColumnandfirstDataRowvariables in the code to match your specific column and row numbers. - Save the script by clicking on the floppy disk icon or pressing Ctrl+S.
Feel free to customize the code further to meet your specific needs. Now you can focus on your data while the script handles the timestamps for you!
I hope this tutorial has been helpful to you. Happy scripting!